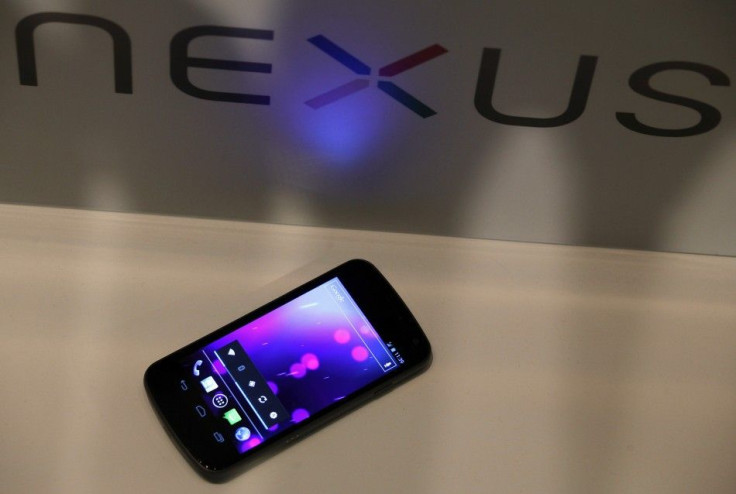
How To Install Android 4.1 Jelly Bean On Galaxy Nexus (GSM)

During the announcement of the latest version of its mobile operating system, the Android 4.1 Jelly Bean, Google said that Over The Air (OTA) updates of Jelly Bean would be released in mid-July for Nexus S, Galaxy Nexus and Xoom.
But thanks to an XDA forum member named bigxie, you don't have to wait that long as he has complied an image of the Jelly Bean ROM, which is flashable on the existing GSM Galaxy Nexus via ClockworkMod Recovery. However, it's important to note that this Jelly Bean ROM is not the final build and hence, you can't ignore possibilities of bugs around the corner.
As evident from the .1 increase in the version number, Jelly Bean is not a revolutionary update that Ice Cream Sandwich was, but the new version does bring some exciting new features and major tweaks, including Google Now, a Siri-like voice assistant, improved Home screen and improved camera app among others.
Below are the steps to install the Jelly Bean ROM on the Galaxy Nexus, courtesy Redmond Pie. Before going ahead with the process, you must have your device rooted and have ClockworkMod Recovery installed on it.
Please note that IBTimes will not be held responsible if any user loses data or the device gets damaged while following the steps explained below. Users must proceed at their own risk.
Step 1: Download and flash ClockworkMod Recovery by clicking on this link.
Step 2: Download the Jelly Bean image, the root fix and radio from this thread over to XDA. Place all the downloaded files in the root directory of your Galaxy Nexus.
Step 3: Power off the device and turn it back on while holding down the Volume Down and Power buttons and you'll boot directly into ClockworkMod Recovery.
Step 4: Take a nandroid backup of the device.
Step 5: From the main menu of CWM, wipe your data, do a factory reset and wipe Dalvik cache.
Step 6: Select install zip from sdcard > choose zip from sdcard > select the Jelly Bean zip that you downloaded and placed in your sdcard in Step 2.
Step 7: Now repeat Step 6, but this time flash the radio file.
Step 8: Again, repeat Step 6 and this time flash the root fix. You must note that this step is not necessary if you are not looking forward to remain rooted after the update.
Step 9: After flashing the three files, select reboot system now from CWM's main screen and you'll boot right into Android 4.1 Jelly Bean on your GSM Galaxy Nexus.
[Source: Redmond Pie]
Meanwhile, the first ever device to be officially shipped with Android 4.1 Jelly Bean will be the Nexus 7 tablet that was also unveiled at Google's I/O Wednesday. Priced at $199, the Nexus 7 tablet is expected to compete against the Kindle Fire.
The Nexus 7 features a 7-inch LCD display with 1280 x 800 resolutions, a quad-core Tegra 3 CPU clocked to 1.15GHz on four cores, 1GB of RAM and 8GB or 16GB of onboard storage. The device also packs in Bluetooth 4.0, Wi-Fi 802.11b/g/n, and has a GPS chip, NFC, gyroscope, compass and accelerometer. The tablet also has a 1.2-megapixel front-facing camera.
The Nexus 7 weighs 0.74 pounds and it is 0.41 inches thick. It measures 7.8 inches by 4.7 inches up and across, respectively.
Must Read Articles:
Apple iPhone 5 Release Expected In September, Handset To Dominate Smartphone Market In 2013: Analyst
Samsung Galaxy S3 Variants Received Last-Minute RAM Upgrade To House Android 4.1 Jelly Bean [REPORT]
© Copyright IBTimes 2024. All rights reserved.


