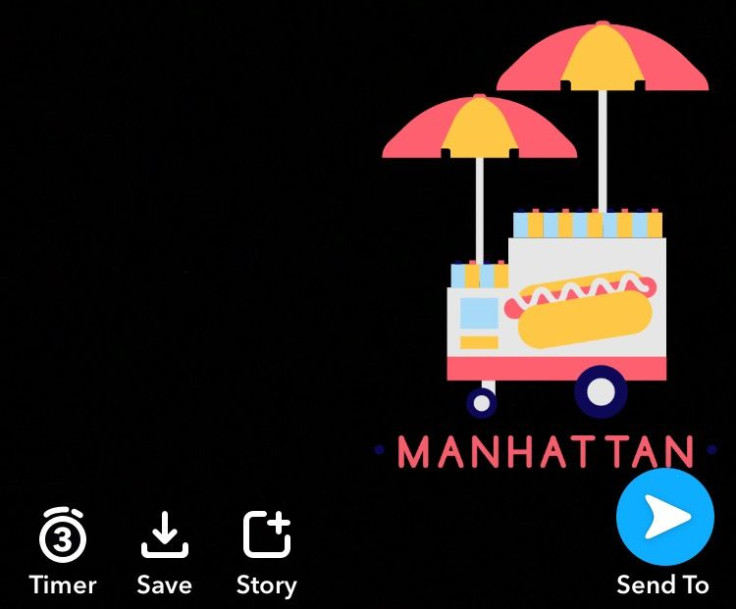
How To Make A Custom Snapchat Filter

The filters available on Snapchat change from day to day and there isn’t always one for every occasion. For the next party you throw, or your best friend’s next birthday you may want to create your own filter.
You have two options when creating a filter, you can either create a community filter, or you can create on-demand filters. So what’s the difference?
Read: Snapchat Update: My Filters Are Gone And Streaks Snapped, Users Say, But There's A Workaround
Community Snapchat filters:
These are free to make and submit. Snapchat encourages Snapchat users to use their inner artist to create community geofilters. These are the filters you see when you swipe left on a snapped photo or video that have to do with your current location.

To make a community filter for your town, school or any other public location for free, go to Snapchat’s website and select “geofilters” in the upper left part of the screen next to “home.” Select “create now” under the community heading.
This will bring you to a page with guidelines for submitting a design. It should be saved for web and under 300 KB, and it has to be a transparent PNG-24 that has a width of 1080 pixels and a height of 1920 pixels. After you’re sure your design meets these criteria, click “next” and you’ll be taken to a map where you can select the area of the community you wish to give access to the filter to.
Once you’ve selected the location either by searching or by cropping pins to cover an area, fill out the information on the right side of the page including your name, email and the significance of the location in addition to uploading the filter. Click submit.
On this page you’ll also find a “download template” button where you can select either a Photoshop or Illustrator template to use when designing your filter.
Once you submit the filter, it will have to be reviewed by Snapchat staff. The company reviews filters in the order it receives them in, so it may take a while for yours to be reviewed. Although, you will get an email if your filter is selected to be on the app.
On-demand Snapchat filter:
These are the filters that are available for purchase by a business or an individual for events or locations. The guidelines for uploading one of these filters are the same as creating a community filter. To create one of these filters though, you’ll need to log into your Snapchat account on the Snapchat website.
Once you log in, you’ll be presented with the options to “use your own” or “create online.” This just means you can use your own software to create the filter and upload it later or you can use Snapchat’s templates if you’re not comfortable with Photoshop or Illustrator.
Using Snapchat’s templates are easy. Select “design” and then it will give you the option to choose an occasion the filter is for. Like a birthday, business or celebration. Once you choose an occasion you’ll be able to choose a template and customize colors and add text or photos to it.
The next step is choosing the dates you want the filter to be available for and the area where it will be available. This is the part that will determine the cost of the filter. The more square footage the filter covers, for a longer period of time, the more it will cost. If you’re covering a relatively small space, it can cost you as little as $5 to design and pay for the filter. Once you pay and submit it, Snapchat will review it, a process it says takes one business day. If it's approved you'll get a confirmation and it should be available on the dates you selected when creating it.
So there you have it, making a custom Snapchat filter is easy, and in some cases, it's free.
© Copyright IBTimes 2024. All rights reserved.


